Monday, January 30, 2012

Why didn't I think of that before?

I was in my yard Saturday morning looking for something to do.  Then it hit me.  My second mini-greenhouse was just sitting there on the patio.  I didn't have anything in it.  It was then that I realized that putting containers in there wasn't the only thing that I could do with it.  I could put it over seeds planted right in the ground!  It was an, "Ah-Ha! Why didn't I think of that before?" moment.

So I levelled off some space in the garden that the previous owners had.
I have to note that I put a lot of work into this garden.  When we moved in last summer, it was only half full, and the soil (if you can call it that) was very sandy.  Who knows, maybe it wasn't a garden but a sandbox.  Anyway, I added several 5-gallon buckets of compost and got it to where it is now.  The plants that are in there are ones that I put in last Fall.  The two in the front are Brussels Sprouts and the two towards the back are broccoli.  I am surprised at how well they've made it through the winter.

Here's the area that I levelled.  I put the greenhouse in place which compressed the soil so I could see its boundaries.  I planted kale, spinach, and lettuce.  

 And here is the garden with the greenhouse in place.

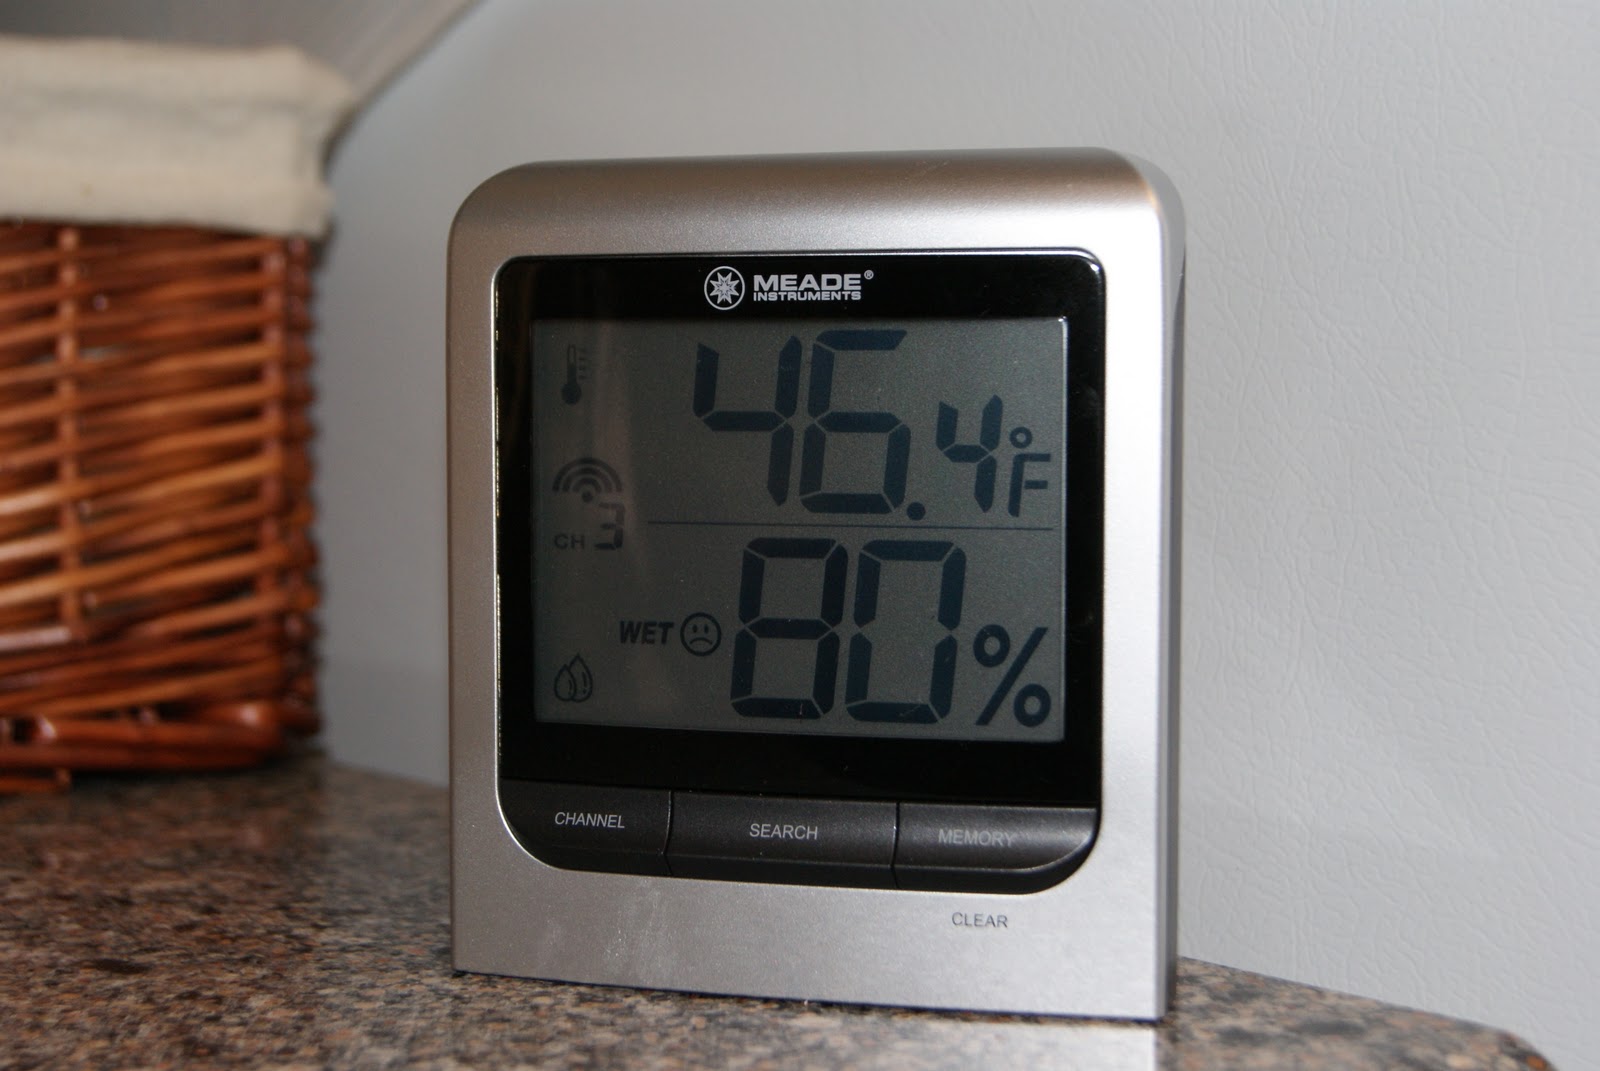
I checked the temperatures in the greenhouse throughout the day.  It was in the 70-80* range most of the day.  The outside temp was ~62*. 

Now I just have to wait and see how this works.  It certainly got plenty warm in there during the day, but this greenhouse doesn't have heat.  I don't know how it will do at night.  Hopefully the soil holds the heat better than the stone patio where the other green house is.

Sunday, January 29, 2012

Starting seeds.

I had a chance to start some seeds the other day.  In the past I've had good luck with those seed starting trays that you can buy at Walmart.  I wanted to see this year, if I could start seeds in plain old soil.

I started with a seed heating mat. My garage is normally 40-60* which is too cold for seeds to germinate.  The heating mat draws just 17w and is able to warm the soil by 10-20*.

Next I got a plastic bin and filled it with soil.  I was concerned that the heating mat wouldn't be able to heat the amount of soil that I was using, but it did just fine.  After 24 hours or so, the surface of the soil was warm to the touch.  I keep the lid on to help retain the heat. 

In this container I planted 3 different types of tomatoes, green peppers, and Brussels sprouts.  Once the seeds sprout I'll have to get grow lights over them until they are big enough to be potted up.

For now my grow lights are being used on my herbs.  I threw some dill and basil seeds in a container maybe 2 weeks ago and left it in our bathroom.  I left it in the bathroom because it was warm in there.  Once the seeds sprouted I moved the container to the garage and put the grow lights on it.  The two longer lights came from Walmart and were $10 each.  I highly recommend them.  The shorter light was more expensive and came from Lowes.  The Walmart lights are a better deal. 

Once these herbs get a little more established they'll be moved outside.


The final thing I need to note are my pepper seedlings.  I planted pepper seeds on Jan 1.  Only two of them sprouted.  I used the container with the blue lid above, and the heat mat.  I'm not sure why more of them didn't make it.  Regardless, I moved the two that did sprout to bigger pots.


Then I put them up on a box and got them right under my 4' T8 shop lights.  They seem to be doing OK there so far. 

Here's a wider shot of the entire setup. 

There's one other thing to note.  I have the grow lights on a timer.  I like to automate things as much as possible. 

Saturday, January 28, 2012

Final mini-greenhouse update (hopefully)

In a previous post I wrote about building a mini-green house.  In a follow-up post I wrote about adding heat.   I'm hoping that this is my last update about greenhouse modifications.

So what did I do this time?  I bought a thermostatically controlled outlet from Amazon.  It's an outlet that turns on when the temperature gets to 35* and turns off when it warms up to 45*. 


 I plugged the greenhouse heating until into this outlet which was then plugged into an extension cord. 


Prior to having this, I had to watch the weather forecast and then go outside at night and plug the thing in.  Then I had to remember to unplug it in the morning before leaving for work.  This automates the process and gives me one less thing to worry about.

So how does it work?  Since I got it, we've only had one night that it got down into the 30's.  That was last night.  Sure enough, when I checked the thermometers this morning, it was 37* outside and 50* in the greenhouse.  The heating unit (aka lights) were still on.  So I have to say that it works well.  

I'm sure someone is wondering, "It's supposed to go off at 45*.  Why was it still on if the thermometer in the greenhouse said 50*?"  Good question.  I think it's due to location.  The plug is at one end of the greenhouse and the thermometer is at the other.  The heating unit (aka lights) are somewhat but not exactly near the center.   The temperature isn't uniform in there.  What can you do...  As long as my plants don't freeze, I'm not going to worry about it.

Friday, January 27, 2012

Asian Meatballs with Dipping Sauce


I subscribe to the logic that by involving the kids in meal planning and preparation, they will take some ownership in the finished product and, thus, be more willing to try a dish of which they would not normally partake.

That's all well and good, philosophically.  But how is it working in my house, you ask?

Hrmph. Not so well.

Ok, SOMETIMES if my son is allowed to smother a piece of chicken in Cajun seasoning, he'll eat 3 bites.  But only if it is smothered in barbeque sauce.  And my daughter... well, unless its brownies or cucumbers, she doesn't want much to do with either the preparation or the consumption.

Nonetheless, a while back I got ambitious and enlisted the family's help in making a batch of lovely potstickers I'd seen on America's Test Kitchen.  The kids thought it was great, messy fun and were enthusiastic about trying their homemade pasta pockets.  Once they were cooked, however, the wrappers were declared "yucky" by the youngsters and they promptly dissected the divine little pockets, discarding the wontons and devouring the seasoned pork inside. 

I know how to make the best of what I've got, so since then, I've simply mixed up the filling and rolled it into meatballs.  Much quicker, less wasteful, still yummy, and paleo friendly!

(I've also switched from pork to turkey because it just seems to hold together better for me.)

Asian Meatballs
1 lb ground turkey
3 scallions, minced
1 thumb-sized pieces of ginger, grated
3 cloves of garlic, grated
1 carrot, grated
1 cup napa cabbage, finely chopped (or, ya know, grated)
1/2 tablespoon toasted sesame oil
2 tablespoons coconut aminos  (*substitute soy sauce if you tolerate soy)
1 egg, slightly beaten


1.  Preheat oven to 400 degrees. 
2.  Set aside 1/2 teaspoon of ginger, 1/2 teaspoon of garlic and 1 tablespoon of scallions for sauce.  Mix remaining ingredients thoroughly, seasoning with salt and pepper to taste.
3.  Shape rounded tablespoons of mixture into balls.  Combine 2 teaspoons of olive oil and 1/2 teaspoon of sesame oil in a cast iron or other oven proof skillet and heat to medium high.
4.  Place meatballs in skillet and brown on one side.  Slowly roll to opposite side, maintaining shape.  Cook 2 to 3 minutes, until beginning to brown.  Place whole skillet in oven and bake for 10 to 15 minutes until meatballs are cooked through.


Dipping Sauce
1 tablespoon minced scallions
1/2 teaspoon grated ginger
1/2 teaspoon grated garlic
3 tablespoons coconut aminos
1 tablespoon rice wine vinegar
1/2 teaspoon sesame oil

Combine all ingredients and whisk until integrated.


We served this with some more napa cabbage that I simply sauteed in EVOO with salt and pepper.  Delish!

Thursday, January 26, 2012

Greenhouse results so far...

I planted some kale in some containers and put them in the mini-greenhouse a while back.  I probably should have noted the day I actually did that.  Oh well.

Anyway, this is my first time attempting to grow kale and it seems to be doing ok.

In the clear container I planted radish seeds and some romaine lettuce.  I think I did that last Saturday or Sunday.  I really need to start keeping better track of this.  Then I'd know how long it takes things to germinate.  Of course, this way I can just be happily surprised when I see something sprout.  And I'm less likely to fuss thinking, "It's been 15 days.  Why hasn't anything sprouted!?!"

Monday, January 23, 2012

Mini Greenhouse #2

The previous owners of our house left several 2x4's in the garage.  They were taking up space and I didn't want to just throw them out.  So, I decided to build another mini-greenhouse.

I took my time building this one.  I took accurate measurements and used a circular saw to make straight cuts.  This structure is a lot more solid than the other one.  I didn't include any diagonal bracing.  I'm happy about this since the braces take up interior space in the other one. 

After the frame was put together I stapled some plastic to it.  I also added some handles.  They were made from 6" pieces of 2x2 left over from the first greenhouse.  They are a great addition.  It's easy to move around.  Once I get some more screws I plan to update the original one with some handles.

Here it is in place.  I haven't added black fabric, a fan, or heat.  For now I'll just keep what I have in the big mini-greenhouse.  Then in a few weeks when stops going below freezing at night I'll put stuff in the small one.

Sunday, January 22, 2012

Greenhouse Heat

It was raining yesterday so I thought it'd be a good opportunity to make some updates to the mini-greenhouse.  I moved it into the garage where it was dry.
Here's a better photo of the black fleece fabric stapled to the back.

I decided to tackle the issue of heat loss during the night.  This is what I came up with. 
sophisticated-greenhouse-heating-unit


In case you are wondering, those are not 100-watt incandescent bulbs that the Federal government banned.  Those are highly sophisticated greenhouse heating elements.  It just so happens that they also produce a lot of light.  (OK. OK.  One of those bulbs is 100w and the other is 60w.)

I mounted the sophisticated-greenhouse-heating-unit on one of the diagonal braces.  I tried to get in the middle of the structure.

The initial test is a success!

And here it is keeping my tiny plants nice and warm.

Supplies:
Results:
I got up at 7:15 this morning to check the results.  It was 33* outside and 46* in the greenhouse.  I'd call that a success.