I bought
3 barrels the other day and made
rain barrels out of them. I installed the
first barrel under my deck and the
second one in the corner of my yard behind the trellis. Barrel #2 is going to feed barrel #3, so it had to be installed first.
Overflow barrel #3 is being placed next to my shed. I plan on using it to water the
chickens and the
ducks. Below is a picture taking from overflow barrel #2 with barrel #3 in the distance.
Below is a picture of overflow barrel #2. I connected a Y-valve to the hose bib. One of the lines attached to it is connected to the rain barrel at the back of my house. I documented how I set this up
here. The other connection goes to overflow barrel #3 by the shed.
Here's a picture of overflow barrel #3. The connection I'm using here is only temporary. This barrel is a lot lower than my other barrels. I have to put a float valve on it to keep it from overflowing. I've ordered one from
Amazon, but it hasn't gotten here yet. I hooked it up this way so I could fill it.
 |
| Those 5-gallon buckets are going to go away once the barrel is full. |
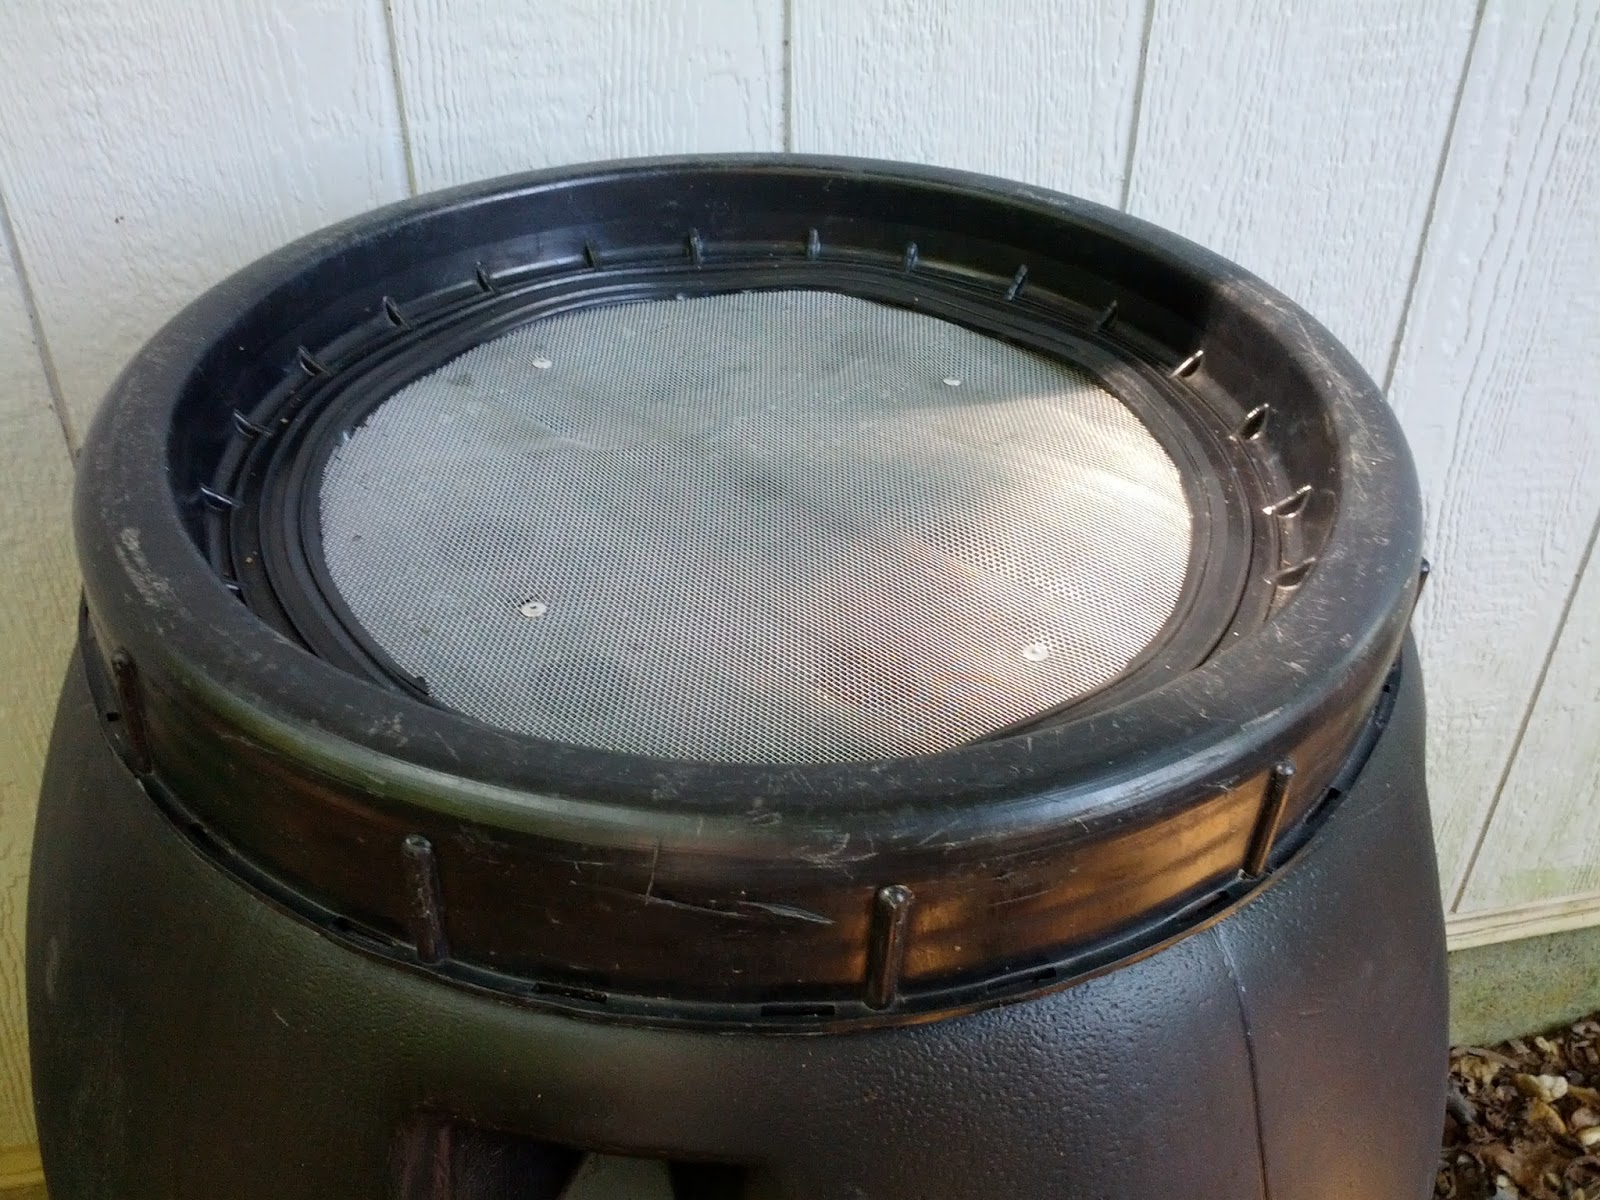
This barrel won't be fed by a downspout, but some runoff from the roof will probably end up in it.
To deal with roof runoff I drilled holes in the lid and added some mesh screen.
It isn't evident from the picture at the top of this post, but this barrel is a lot lower than overflow barrel #2. I opened the valve on barrel #2 to fill barrel #3 and went about doing stuff in my yard. I came back later and found barrel #2 empty and barrel #3 filled to the very top.
I didn't think that this barrel was
that much lower, but I guess it is.


No comments:
Post a Comment